Hiring the wrong roofing contractor is one of the costliest mistakes a homeowner can make. A botched roof installation — missing flashing, improper underlayment, skipped permits — can cause tens of thousands in damage that’s entirely on you if the contractor has vanished. Knowing how to hire a roofing contractor correctly is what separates a smooth project from a nightmare.
This guide walks you through every step: where to find legitimate candidates, what to verify before anyone gets on your roof, how to compare quotes fairly, what every contract must include, and how to protect yourself with the right payment structure.
By the end, you’ll have a clear process — not just a list of tips — that gives you genuine confidence when choosing a roofing company.
Where to Find Qualified Roofing Contractors
The worst time to find a roofer is right after a storm, when demand spikes and out-of-town crews flood the area. Build your shortlist before you need one urgently. Here’s where to look:
The NRCA Contractor Locator
The National Roofing Contractors Association (NRCA) maintains a searchable directory of member contractors at nrca.net. Membership isn’t a guarantee of quality, but it indicates that a contractor has agreed to uphold industry standards and ethics. It’s the best starting point available.
Manufacturer Certification Programs
The most reliable signal of installation quality is manufacturer certification. GAF’s Master Elite program, Owens Corning’s Platinum Protection contractor network, and CertainTeed’s SELECT ShingleMaster designation all require verified training, insurance, and track records. Critically, only certified installers can offer the highest tiers of manufacturer warranty to their customers — often 50-year or lifetime coverage that standard installations can’t access.
Find certified contractors directly on manufacturer websites: gaf.com, owenscorning.com, and certainteed.com each have contractor locators. IKO also maintains a certified contractor program worth checking if their products are common in your region.
Local References and Neighbor Reviews
Ask neighbors whose roofs look good whose work they used. A roofer who’s worked in your neighborhood knows local code requirements, common weather patterns, and has a visible track record you can inspect firsthand. Google reviews and the Better Business Bureau are also useful, particularly for spotting patterns — one bad review means little; five complaints about the same issue tells a story.
What to Avoid: Door-to-Door Solicitation
A contractor who shows up unsolicited after a storm, offering to inspect your roof for free and sign you up on the spot, is almost never who you want on your roof. These storm-chasing outfits operate in damaged areas, collect large deposits, do substandard work, and move on before callbacks occur. Always initiate contact yourself.
The 10-Point Contractor Verification Checklist
Before any contractor steps on your property for an estimate, run through this checklist. It takes 20–30 minutes and can save you from hiring someone who causes more damage than they fix.
| Verification Item | How to Check | Why It Matters |
|---|---|---|
| State Contractor License | Verify number on your state licensing board website | Non-negotiable — unlicensed = no legal recourse |
| General Liability Insurance | Ask for a certificate of insurance, not just verbal confirmation | Minimum $1M coverage recommended |
| Workers’ Comp Coverage | Separate from liability — must cover all crew members | Without it, YOU may be liable for on-site injuries |
| Physical Business Address | Verify a real local office — not just a P.O. box | Post-storm chasers often have no local presence |
| Years in Business | Look for 5+ years of documented local operation | New businesses aren’t disqualified, but verify references |
| NRCA Membership | Search nrca.net contractor locator | Indicates commitment to industry standards |
| Manufacturer Certification | GAF Master Elite, Owens Corning Platinum, CertainTeed SELECT | Unlocks enhanced warranties for you as the homeowner |
| Online Reviews | Check Google, BBB, and Houzz — look at how they respond to negatives | Pattern of complaints > single bad review |
| References (3 recent jobs) | Call them; ask specifically about cleanup and warranty service | A contractor who won’t provide references is a red flag |
| Written Itemized Estimate | Line items: materials, labor, tear-off, permits, warranty | Never accept a one-line total quote |
Critical note on insurance: Request certificates directly from the contractor’s insurer — not just a copy the contractor hands you. Policies can be cancelled after a certificate is issued. A quick call to the insurer to confirm active coverage takes two minutes and eliminates one of the most common fraud scenarios.
Red Flags That Should Stop You Cold
Knowing what to avoid is just as important as knowing what to look for. The roofing industry has a disproportionate share of bad actors because entry barriers are low, jobs are often large, and most homeowners can’t easily verify the quality of work once it’s done. These warning signs are the result of hard lessons homeowners have learned.
10 Red Flags — Walk Away Immediately
- Arrives door-to-door right after a storm with a ‘special deal’
- Can’t provide a state license number or proof of insurance on request
- Asks for more than 30% upfront before any materials are ordered
- Suggests skipping the building permit (‘saves you money and time’)
- Offers to ‘waive your insurance deductible’ — this is insurance fraud
- Quotes a single total with no itemized breakdown of materials
- Pressures you for a same-day decision (‘price only good today’)
- Has no verifiable reviews, online presence, or physical address
- Plans to subcontract the work but won’t disclose who will be on your roof
- Won’t provide references from jobs completed within the last 12 months
If you encounter any of these situations, simply disengage. You don’t owe an explanation. A quick ‘I’ve decided to go in a different direction’ ends the conversation. No legitimate contractor will pressure you after that.
How to Get and Compare Roofing Quotes Fairly
Getting three quotes is industry standard advice — but only useful if you’re comparing the same scope of work. Quotes that don’t specify materials, labor details, and warranty terms can’t be compared on price alone.
What to Tell Each Contractor
Give every contractor the same brief: your home’s approximate square footage, your preferred material (or ask them to recommend one for your climate and budget), that you need a full tear-off, and that you want an itemized quote in writing. Standardizing the request makes comparison meaningful.
Understanding Quote Differences
A quote $2,000 lower than the others isn’t automatically a deal. It might mean a lower-grade underlayment, reused flashing instead of new, or a shorter workmanship warranty. When you see a significant price gap, ask the lower bidder to match the specs of the higher quote — then see if the price changes. The answer tells you exactly where they were cutting corners.
Reasonable 2026 Price Ranges
- Asphalt shingles (standard architectural): $8,000–$15,000 for an average 1,700–2,200 sq ft home
- Metal roofing (steel standing seam): $12,000–$25,000 same size range
- Clay or concrete tile: $16,000–$35,000
- Slate: $22,000–$50,000+
- Labor typically represents 40–60% of total project cost in most markets
Northeast and West Coast markets typically run 15–25% above these national averages. Rural markets often run 10–15% below. Always verify pricing with local contractors — national averages are a reference, not a quote.
Quote Comparison Worksheet
Use this table to record line-item details from each contractor’s quote side by side. Price shopping without comparing specifications is how homeowners end up with the cheapest roof, not the best value.
| Line Item | Contractor A | Contractor B | Contractor C |
|---|---|---|---|
| Shingle brand & product line (e.g., GAF Timberline HDZ) | __ | __ | __ |
| Underlayment type & manufacturer | __ | __ | __ |
| Ice & water shield coverage area | __ | __ | __ |
| Drip edge material and color | __ | __ | __ |
| Tear-off layers included | __ | __ | __ |
| Deck repair rate (per sheet) | __ | __ | __ |
| Flashing — replace or reuse? | __ | __ | __ |
| Ridge cap type | __ | __ | __ |
| Permit — included or extra? | __ | __ | __ |
| Manufacturer warranty tier | __ | __ | __ |
| Workmanship warranty (years) | __ | __ | __ |
| Payment terms | __ | __ | __ |
| TOTAL PRICE | __ | __ | __ |
Tip: If a contractor won’t itemize their quote to this level of detail, that’s a red flag in itself. Professional roofing companies have no reason to hide what materials they’re using or what warranty they’re providing.
Contract Essentials: What Must Be in Writing
A verbal agreement means nothing in a roofing dispute. Everything that matters must be in the signed contract before work begins. This protects both you and the contractor.
What Every Roofing Contract Must Include
- Full scope of work — specific materials with manufacturer names, product lines, and color codes
- Start date and estimated completion date with weather-delay policy stated
- Permit responsibility — who pulls it, who pays for it, how it gets closed out
- Payment schedule — tied to project milestones, not arbitrary dates
- Change order process — written authorization required before any additional work or charges
- Cleanup and waste disposal plan — who handles dumpster, nail sweep, debris removal
- Manufacturer warranty details — tier, duration, what voids it
- Contractor workmanship warranty — duration and what it covers
- Lien waiver — contractor agrees not to place a mechanic’s lien on your property
Never sign a blank contract or one with key items left ‘to be determined.’ A contractor who balks at a complete contract is a contractor to avoid.
One clause often overlooked: the change order process. Roofing projects regularly uncover unexpected deck damage once the tear-off starts. A good contract establishes the per-unit cost for deck repairs upfront (typically $75–$110 per sheet of decking) and requires your written or verbal approval before any additional charges are incurred. Without this, you can face surprise charges at final billing.
Payment Terms: What’s Standard and What’s a Warning Sign
Industry-Standard Payment Structure for Roof Replacement
- Deposit (10–30%): Paid at contract signing to secure your spot and allow material ordering
- Progress payment (30–40%): Due when materials are delivered to the site
- Final payment (30–40%): Due only after work is 100% complete, cleanup is finished, and you’ve done a walkthrough
WARNING: Any contractor asking for 50%+ upfront is a serious red flag. Legitimate contractors don’t need half the job cost before a single shingle is lifted. Pay by check or credit card — never cash. A paper trail protects you if disputes arise.
For large projects over $15,000, some contractors accept credit cards for the deposit and progress payment. This gives you chargeback rights if something goes seriously wrong. Check whether the contractor charges a processing fee (2–3% is common) and factor that into your decision.
Before making final payment, walk the entire property with the contractor. Check that: all debris and packaging is removed, a magnetic nail sweep has been done on grass and driveway, gutters are clear of granules and debris, and all manufacturer warranty documentation and permit closure paperwork is in your hands.
What to Expect During the Roof Replacement
Understanding the process helps you know when things are going right — and when to ask questions.
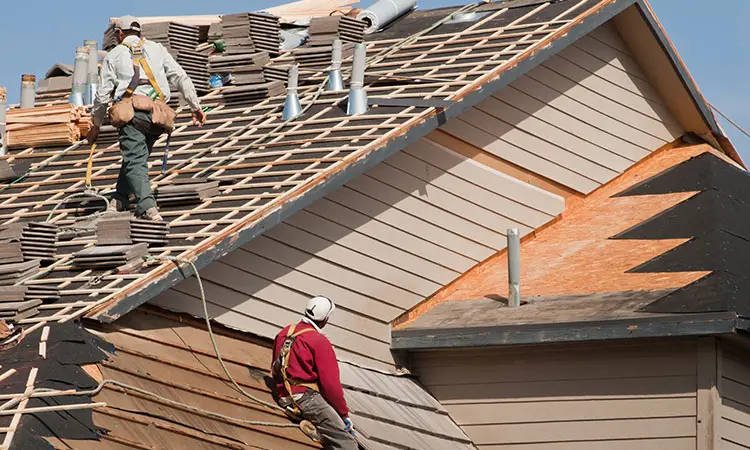
Day 1: Tear-Off and Deck Inspection
The crew removes all existing roofing down to the decking. This is the most disruptive part — expect significant noise for 4–6 hours. They’ll inspect the deck for rot, soft spots, or structural concerns. A trustworthy contractor will show you any deck issues and get approval before charging for repairs.
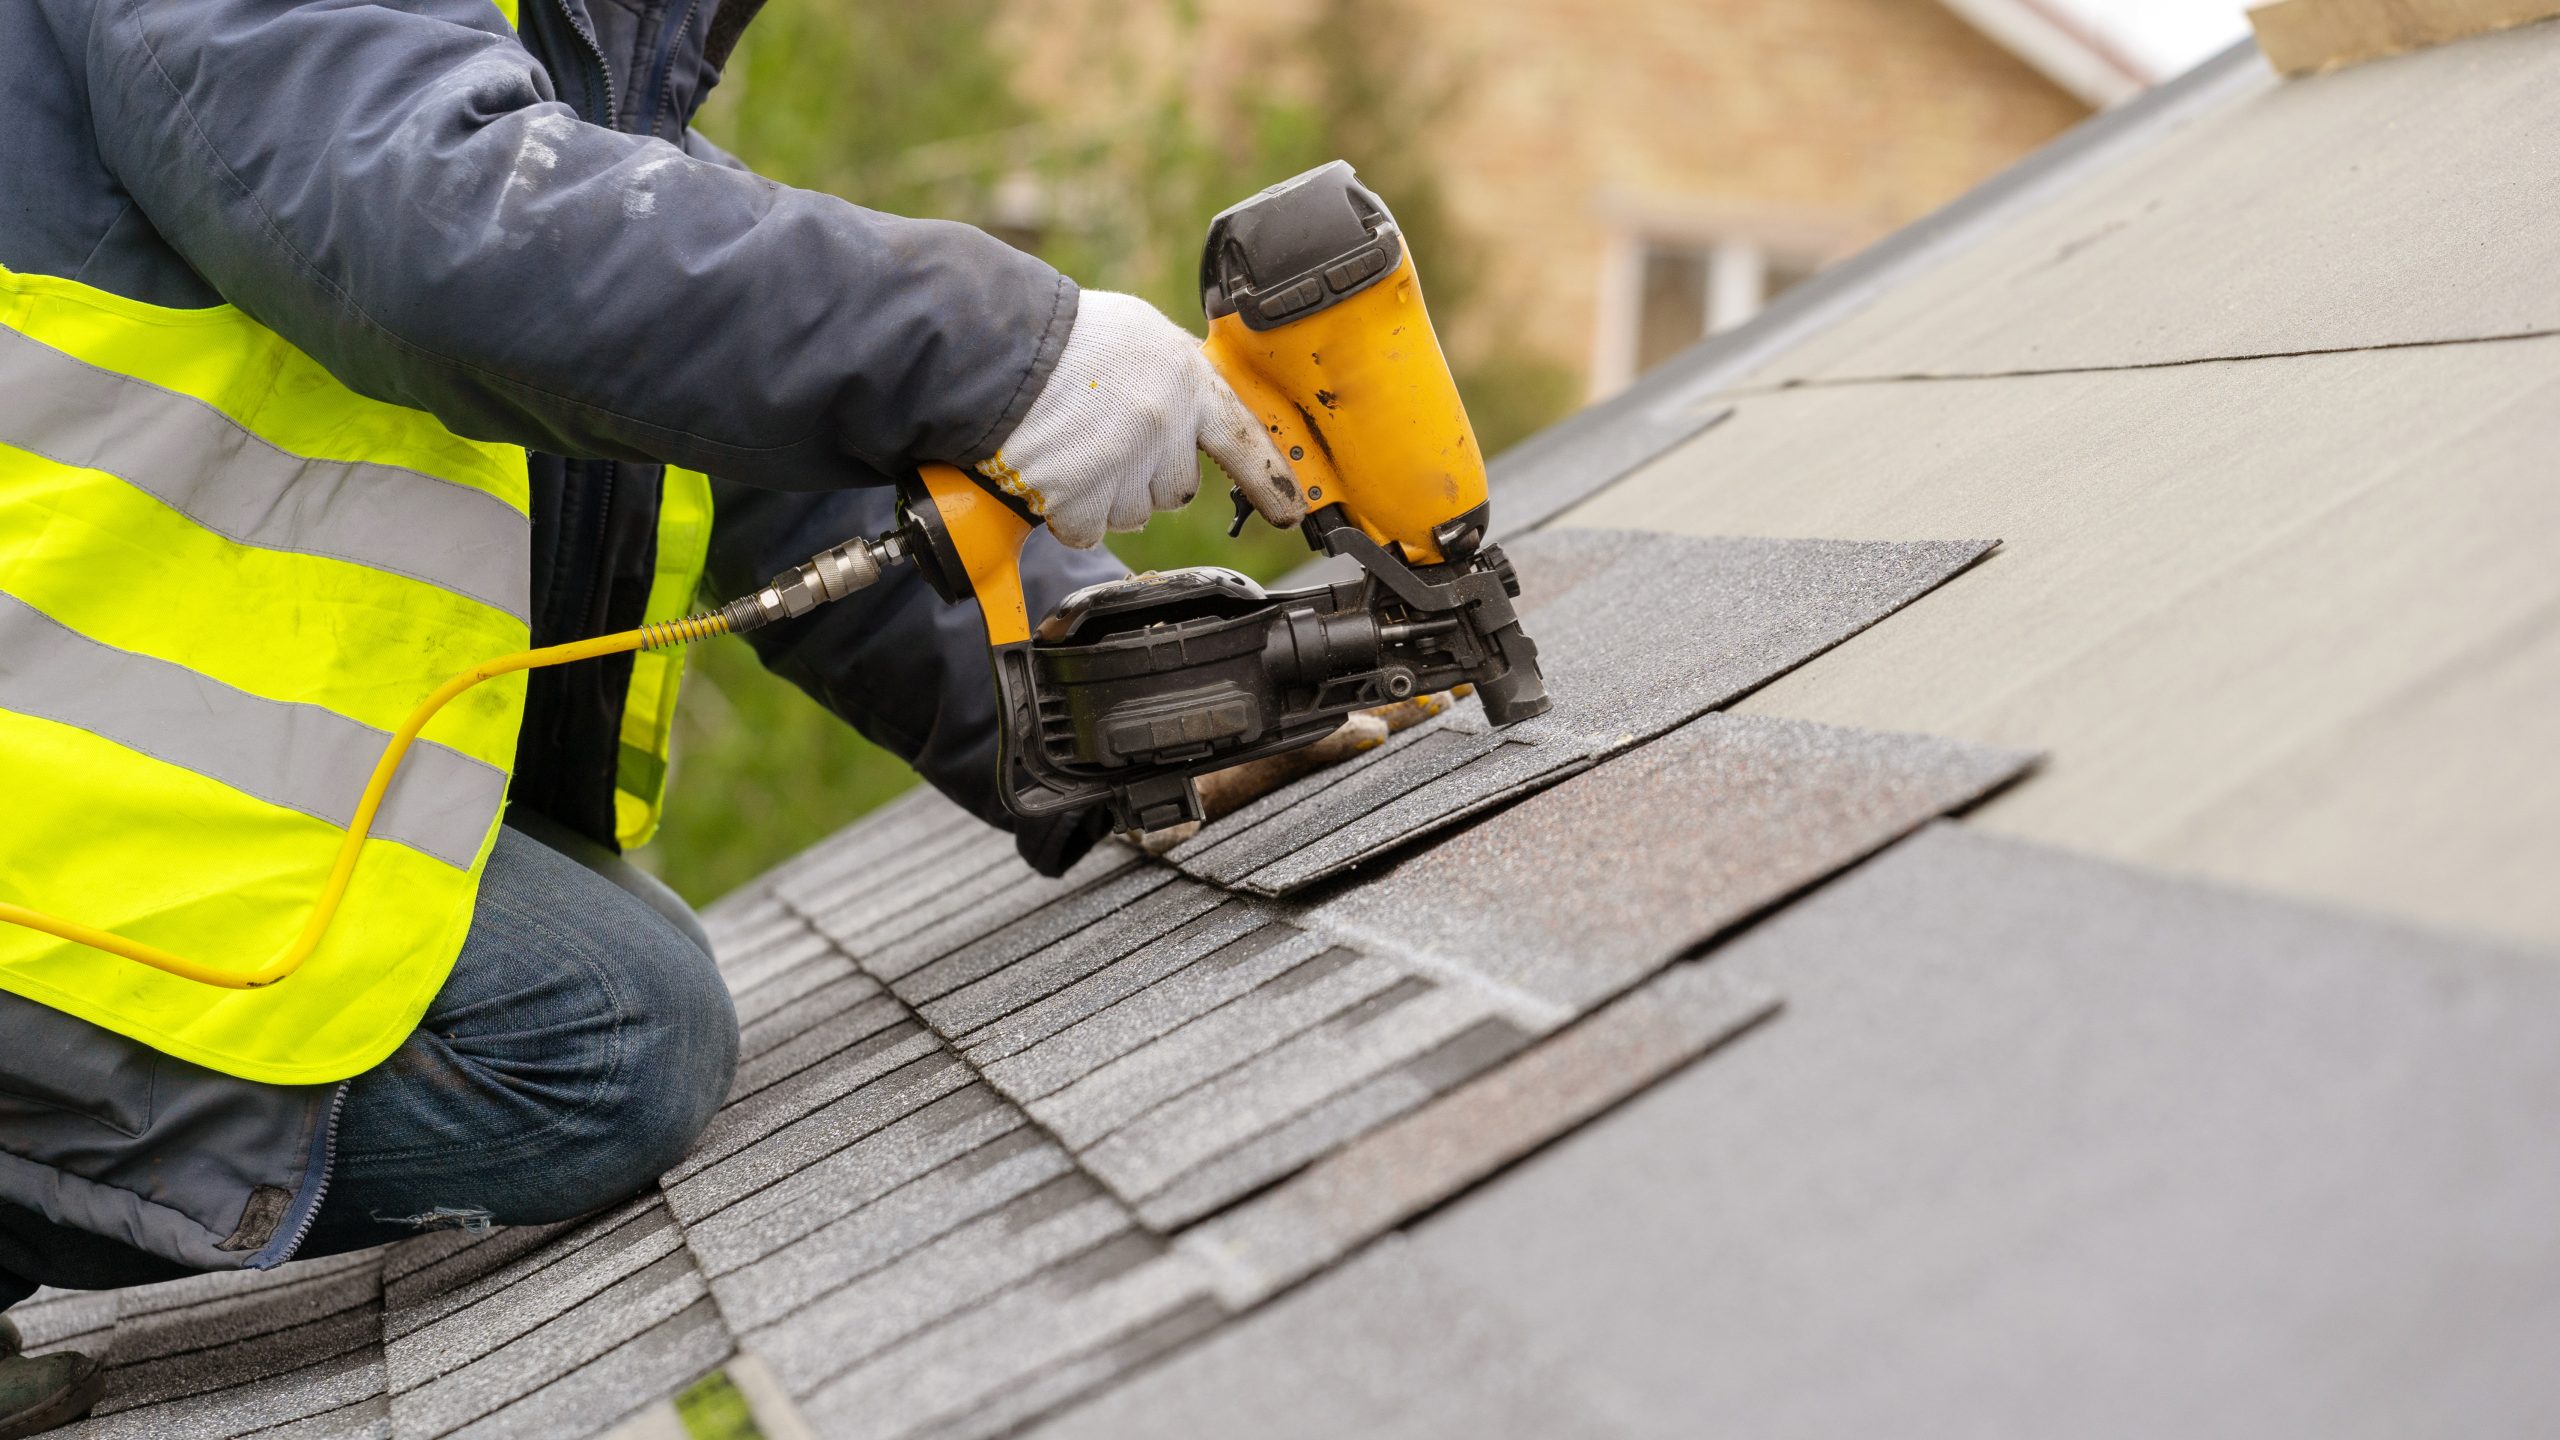
Day 1–2: Underlayment, Ice Shield, and New Roofing
Proper installation begins at the eaves: drip edge first, then ice and water shield at vulnerable areas (eaves, valleys, and all penetrations), then synthetic underlayment across the full deck. Shingles, metal panels, or tile are then installed from eave to ridge. This sequence matters — skipping or reversing any step creates leak vulnerability.
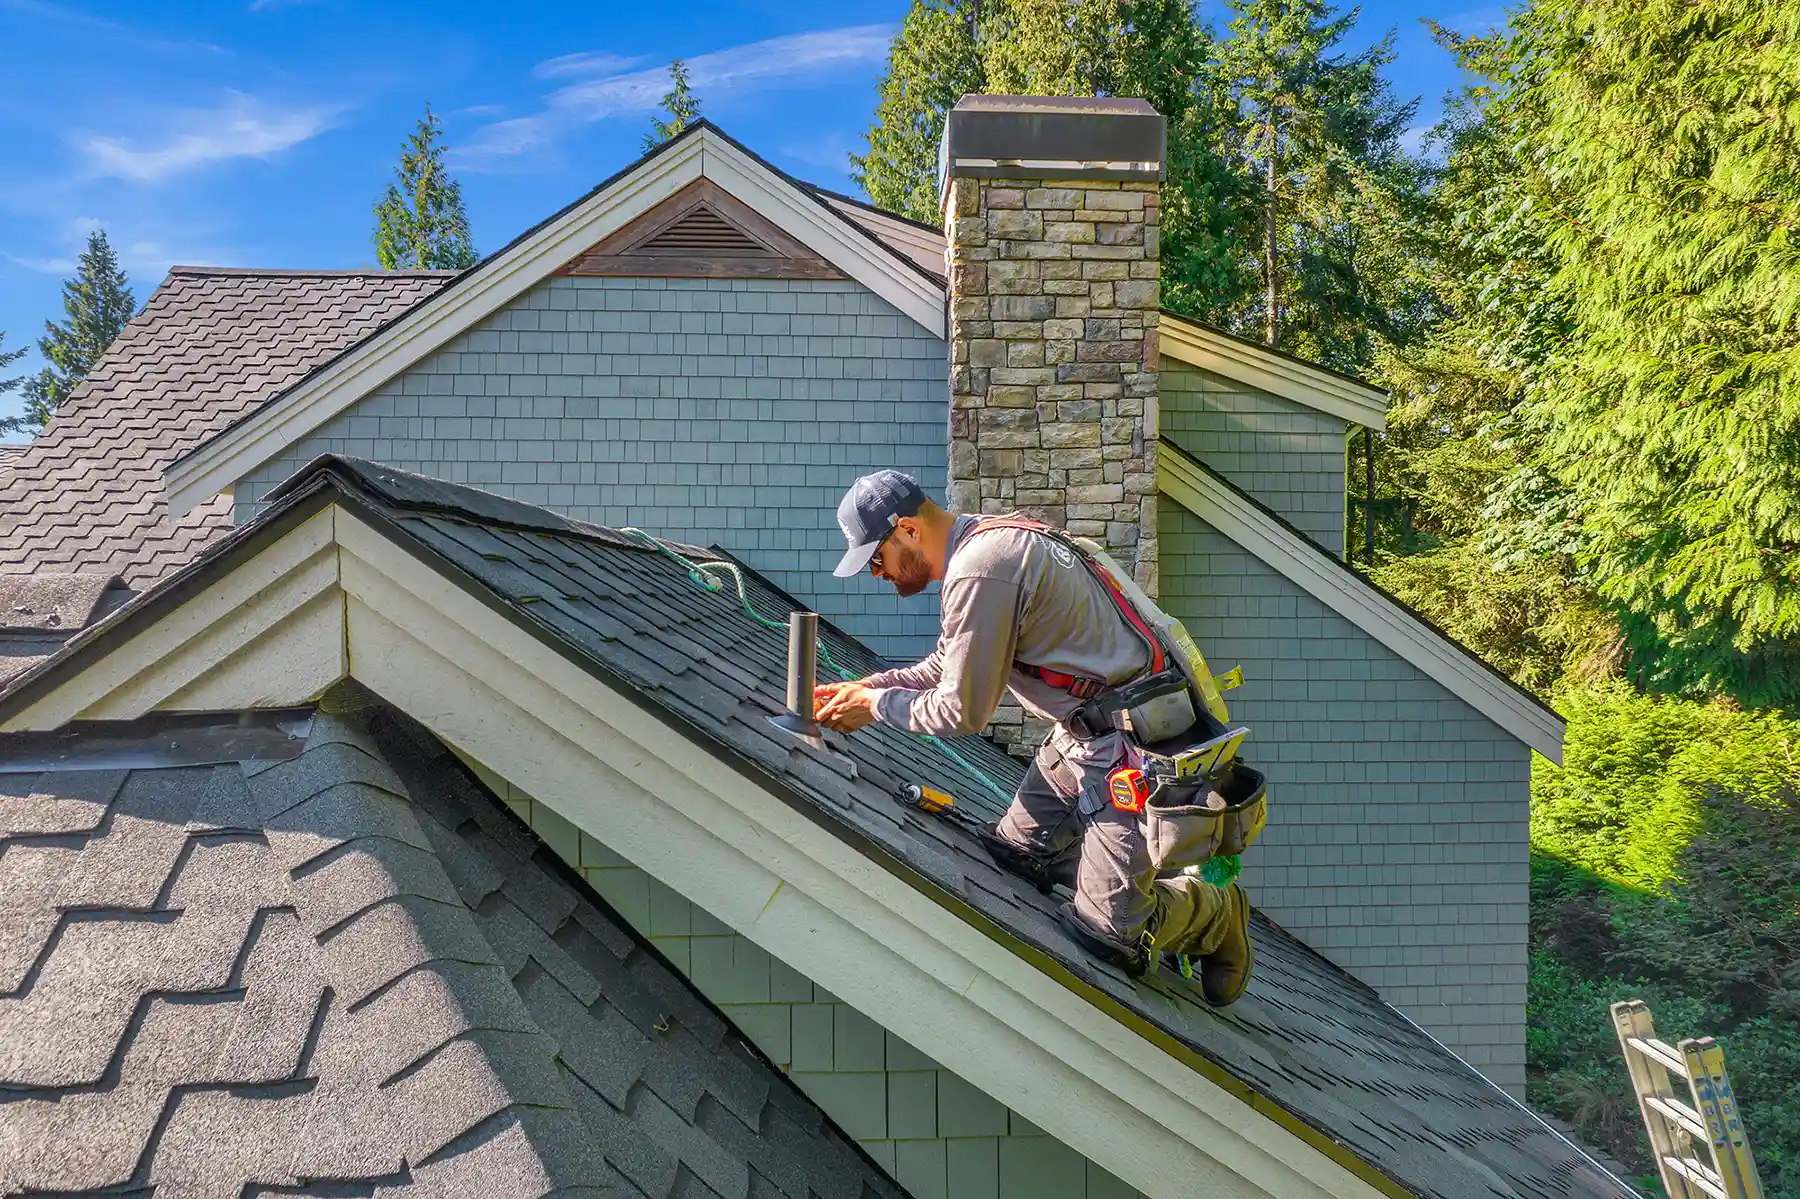
Day 2–3: Flashing, Ridge Cap, and Cleanup
All flashing — chimney saddles, step flashing at walls and dormers, valley flashing, and pipe boots — should be new on a full replacement. Reusing old flashing is a cost-cutting measure that creates future leak risk. The ridge cap installation includes the ridge vent for proper attic ventilation. Final cleanup includes a thorough magnetic nail sweep of all accessible ground areas.
What You Should and Shouldn’t Do
- Do: keep vehicles out of the driveway; warn neighbors about noise
- Do: check in briefly at start and end of each day without interrupting the crew
- Do: photograph the deck before new materials go on — this documents any repairs
- Don’t: go up on the roof yourself during active installation
- Don’t: make verbal scope changes — anything added or changed should go through the change order process
FAQ: Hiring a Roofing Contractor — Questions Answered
How many roofing contractor quotes should I get?
Get at least three itemized quotes before making a decision. Three quotes give you enough data to spot the outlier — whether that’s an unusually high bid or a suspiciously low one. For jobs over $15,000, getting four or five quotes is worth the extra time. Make sure each contractor is quoting the same materials and scope so comparisons are meaningful.
What questions should I ask a roofing contractor before hiring?
Ask: Are you licensed and insured in this state? Who physically does the work — your crew or subcontractors? What manufacturer warranties are available for this installation? How do you handle deck damage discovered during tear-off? What’s your process for pulling permits? Can you provide three references from jobs completed in the last 12 months? A contractor who answers all of these clearly and without hesitation is worth serious consideration.
Is it okay if a roofing contractor uses subcontractors?
Subcontracting is common in the roofing industry, but it requires transparency. You need to know who will be on your roof, whether those workers are covered under the contractor’s insurance, and whether the contractor will be present to supervise. Ask directly. A contractor who uses subs but won’t identify them or confirm insurance coverage is a risk.
What does a roofing contractor’s license cover?
A state contractor’s license confirms that the business meets your state’s minimum requirements to legally perform roofing work — typically proof of insurance, a bond, and passing a trade knowledge exam. It creates legal accountability and gives you recourse through your state licensing board if something goes wrong. Working with an unlicensed contractor eliminates most of that protection.
Can I negotiate with a roofing contractor on price?
Yes, within reason. You can ask a contractor to match the material specifications of a competing quote, ask whether there are scheduling-based discounts for off-peak timing (late fall through winter in most markets), or request that they absorb the permit cost. What you shouldn’t negotiate is the quality of materials or the scope of the warranty — those trade-offs show up later, on your roof.
What happens if my roof fails after installation?
You have two potential remedies: the contractor’s workmanship warranty (covers installation errors) and the manufacturer’s material warranty (covers defective materials). Document the failure with photos immediately. Contact the contractor in writing — email creates a time-stamped record. If the contractor is unresponsive, contact the material manufacturer directly and file a complaint with your state contractor licensing board. If the contractor has NRCA membership, NRCA’s ethics process is also available.
Do I need to be home during the roof replacement?
You don’t need to be present all day, but you should be available by phone and plan to be there at the start and end of each day. Being present at the start lets you confirm that the crew understands the scope and has the right materials on site. Being there at the end of the day lets you spot any concerns before they’re covered by the next day’s work.
Key Takeaways & Next Steps
Hiring the right roofing contractor comes down to a systematic process, not luck. Here’s what to carry forward:
- Start with verified sources: NRCA contractor locator and manufacturer certification programs (GAF, Owens Corning, CertainTeed, IKO)
- Run the 10-point verification checklist before anyone sets foot on your property — license and insurance are non-negotiable
- Get three itemized quotes comparing the same scope; use the worksheet to make differences visible
- Read the contract carefully — materials, warranties, payment schedule, and change order process all belong in writing
- Hold 30–40% of payment until project completion and your walkthrough — it’s the most effective leverage you have
Your next step: identify two or three candidates using the NRCA locator or manufacturer directories, run them through the verification checklist, and request itemized quotes. With the right contractor, a roof replacement or major repair is a straightforward project — and a significant investment that protects your home for decades.
At Roofing SEO Masters, we understand that a strong online presence helps reputable contractors stand out. We help established roofing companies showcase their verified credentials and quality work to homeowners like you. If you’re a contractor looking to improve your digital footprint, explore our Local SEO and Content Marketing services, or check out our case studies to see how we help businesses grow. You can also learn more about our agency and the service areas we cover.
Disclaimer: Contractor licensing requirements vary by state. Always verify current requirements with your state licensing board. Pricing reflects 2026 national estimates and will vary significantly by region, project complexity, and market conditions.

Leave a Reply